How to Leverage the Samsung Galaxy S22's Camera Superiority Over the iPhone
Introduction
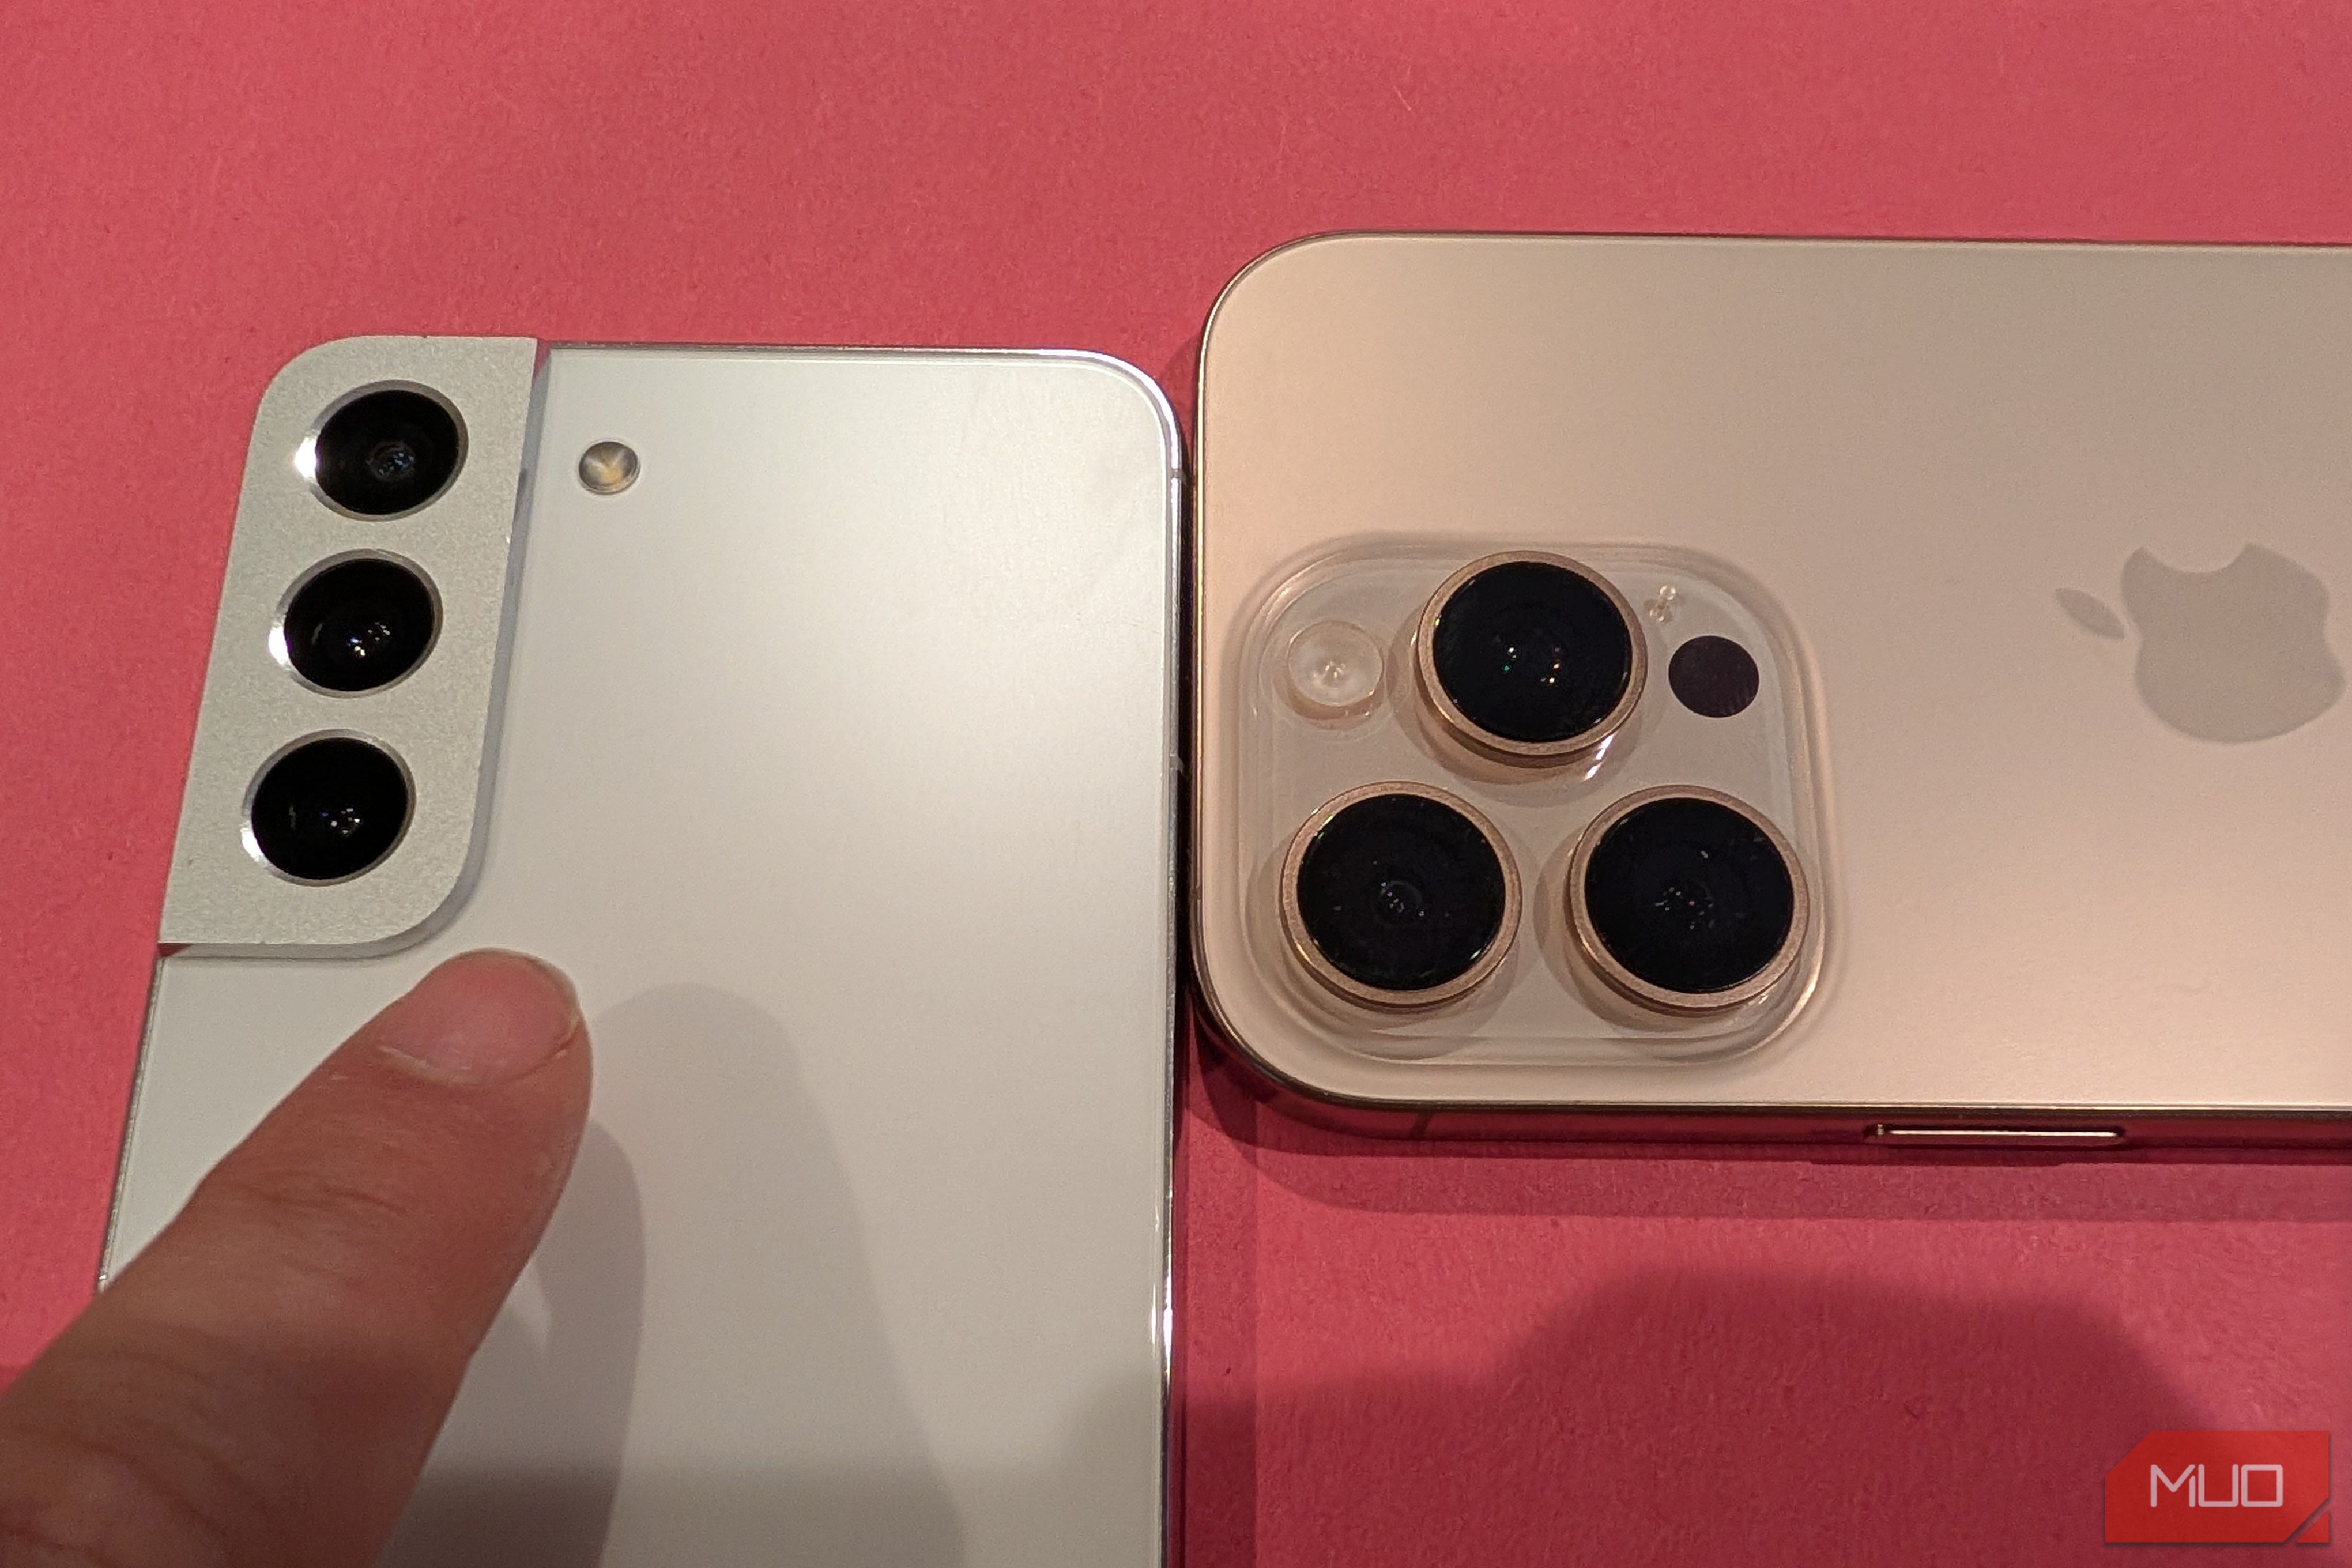
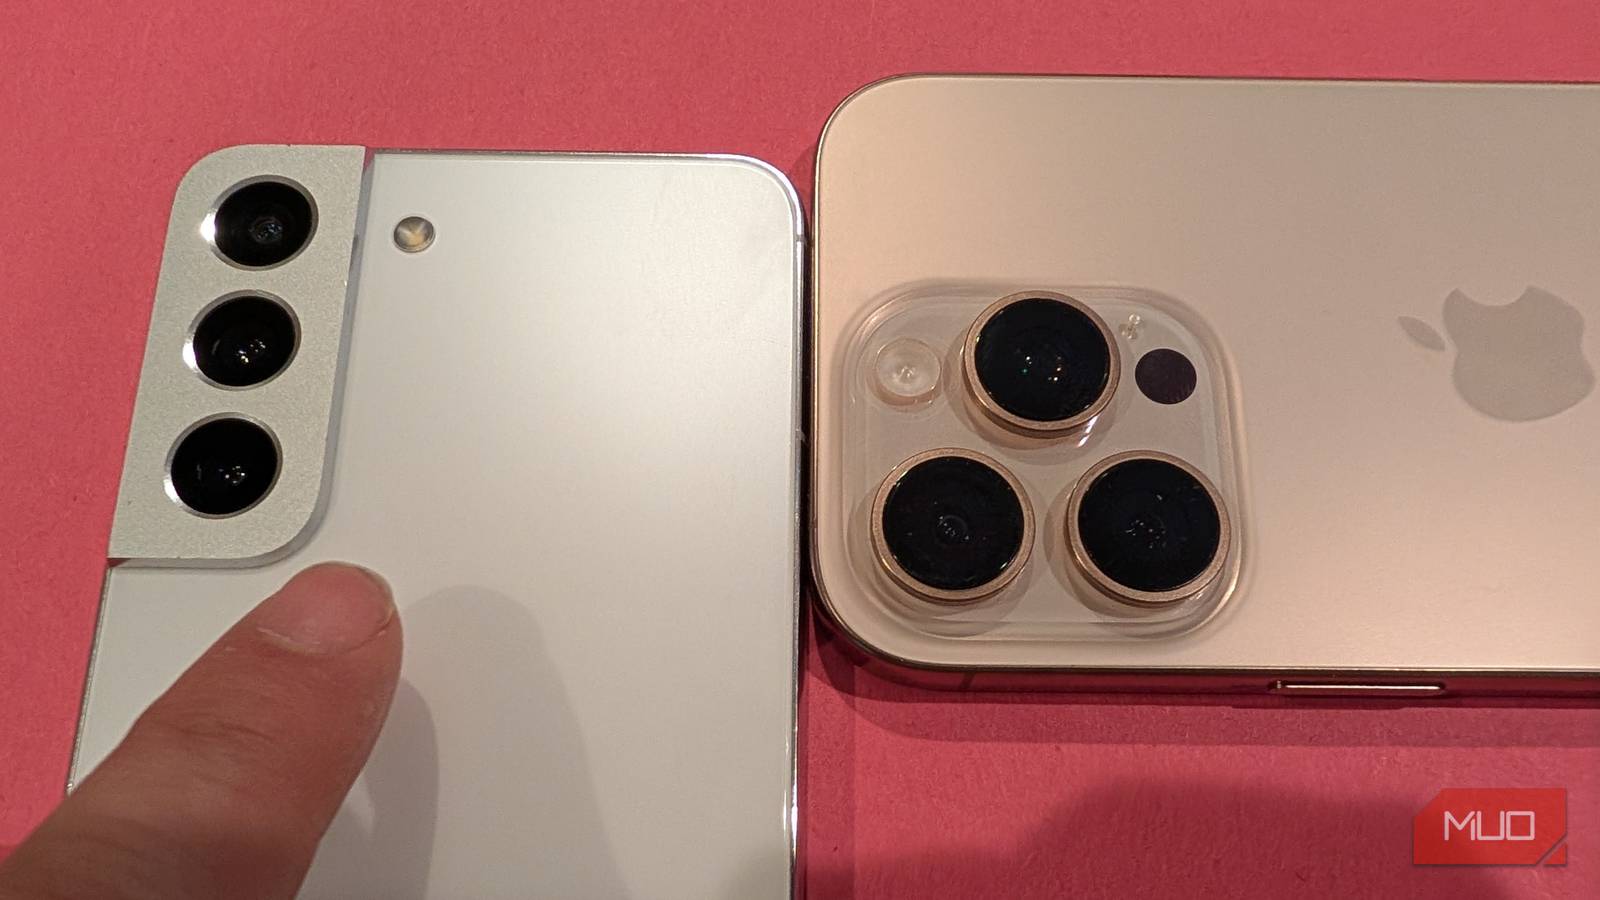
You might assume that Apple’s iPhone, with its long-standing reputation for camera excellence, would outperform an older Android device like the 2022 Samsung Galaxy S22 Plus. However, in several real-world scenarios, the Galaxy S22’s camera system still delivers results that outshine even the latest iPhones. This step-by-step guide reveals the four key areas where Samsung’s older flagship holds a clear advantage, and shows you how to capture those winning shots yourself. Whether you’re a photography enthusiast or just want better vacation photos, these techniques will help you get the most from your Galaxy S22.
What You Need
- A Samsung Galaxy S22 (any variant: S22, S22+, S22 Ultra)
- An iPhone (for comparison; optional but helpful)
- Good lighting conditions or low-light scenes for testing
- A tripod for stable long-exposure shots (recommended)
- The latest Camera app update (check Galaxy Store or Settings)
- Optional: Expert RAW app from Samsung for pro-level control
Step 1: Master the Optical Telephoto Zoom for Crisp Portraits
The Galaxy S22 features a dedicated 3x optical zoom lens, while most iPhones (except the Pro models with a 3x telephoto) rely on digital zoom for mid-range shots. Here's how to exploit this advantage:
- Open the Camera app and switch to Photo mode.
- Tap the 3x zoom icon (a tree symbol or sliding bar) to engage the optical telephoto lens.
- Frame your subject – this lens excels for portraits, giving natural compression without quality loss.
- Use Portrait mode while at 3x zoom for bokeh effects that rival a dedicated camera.
- Compare the same shot on an iPhone: even the 2x or 3x digital crop will show more noise and less detail.
Step 2: Unlock Pro Mode for Full Manual Controls
Unlike the iPhone’s relatively locked-down camera interface, the Galaxy S22 gives you a Pro mode that lets you adjust ISO, shutter speed, white balance, manual focus, and more. Follow these steps:
- Swipe to More in the Camera modes and select Pro.
- Adjust ISO to control sensitivity – lower ISO (50-100) for bright light, higher (up to 3200) for darkness.
- Set shutter speed manually: fast (1/500+) to freeze motion, slow (1/4 sec or more) for light trails.
- Use manual focus (MF) by tapping the peaking indicator – ideal for macro or selective focus shots.
- Save your settings as a custom preset for repeated scenarios (e.g., astrophotography or night streets).
This level of control means you can capture scenes that the iPhone’s automatic AI might over-process or under-expose.
Step 3: Optimize Low-Light and Night Shots with Night Mode & Expert RAW
Samsung’s Night mode on the S22 is more flexible than Apple’s, especially when combined with the Expert RAW app (available from Galaxy Store). Here's how to get cleaner, brighter low-light photos:
- In the camera, select Night mode (moon icon) and hold the phone steady. The S22 automatically chooses a multi-frame exposure (2–10 seconds).
- For even better results, download and open the Expert RAW app. It offers a dedicated Night mode with adjustable exposure time up to 2 minutes.
- Mount the Galaxy S22 on a tripod, then set the exposure slider to the far right (longest).
- Tap the shutter – the phone will combine multiple long exposures to drastically reduce noise and boost detail in shadows.
- After capture, you can adjust raw files in Lightroom or Snapseed without losing quality.
In side-by-side comparisons, the Galaxy S22’s night shots often show more stars, less grain, and truer colors than iPhone’s, which can blow out highlights.
Step 4: Use Single Take for Action and Candid Moments
Galaxy S22’s Single Take mode captures a burst of images and short videos simultaneously, then uses AI to recommend the best shots. The iPhone lacks such an all-in-one mode. To use it effectively:
- Open the Camera app and swipe to More, then select Single Take.
- Point at your subject (e.g., a pet, child, or moving car) and press the shutter button once.
- Keep the phone steady or pan slowly for 5–15 seconds while it captures multiple photos, videos, and collages.
- After the countdown, review the automatically curated results – you’ll get up to 10 different formats (e.g., a looped video, a cropped portrait, a motion photo).
- Delete the raw burst (the mode discards it) and keep your favorite outputs.
This feature is perfect for situations where you can’t predict the perfect moment, and it consistently produces more varied and interesting shots than an iPhone’s standard burst mode.
Tips for Getting the Best Comparative Results
- Test side by side: When comparing Galaxy S22 vs. iPhone, use the exact same composition and lighting. Export both to a computer for 100% zoom comparisons.
- Update software: Samsung has improved the camera through firmware updates – always check for the latest in Settings > Software Update.
- Use the Pro lens wisely: The telephoto lens is excellent for portraits, but avoid using it in very dim light – switch to main camera with 2x digital zoom instead.
- Experiment with Expert RAW: For pro-level editing headroom, shoot in RAW even in daylight. The Galaxy’s dynamic range in RAW often exceeds iPhone’s HEIC.
- Learn manual focus peaking: In Pro mode, the green highlights indicate sharp focus – use for precise macro or landscape shots.
- Clear lens and stabilize: Even a slight smudge can degrade night shots. Use a microfiber cloth and a tripod for low-light comparisons.
By following these steps, you’ll not only demonstrate that the Samsung Galaxy S22’s camera still holds its own against newer iPhones, but you’ll also elevate your own photography skills. Embrace the flexibility of Samsung’s camera software and hardware – it offers creative control that Apple often restricts.
Related Articles
- Mastering iOS 26's Revamped Phone App: Two Game-Changing Features
- Breaking: Apple's iPhone 18 Pro Launch Timeline Confirmed – Report
- Upgrading to React Native 0.84: Embracing Hermes V1, Faster Builds, and a Cleaner Architecture
- Flutter 3.44 to Default to Swift Package Manager, Ending CocoaPods Era
- Flutter’s Shift to Swift Package Manager: What You Need to Know
- Mastering Flutter 3.44: A Developer’s Step-by-Step Guide to the Latest Features
- Flutter Drops CocoaPods: Swift Package Manager Becomes Default Dependency Manager from Version 3.44
- Mastering Data Normalization: A Practical Guide for Consistent Analytics and AI Readiness